ADVERTISEMENT
The success of baked taquitos rests on two techniques: ensuring the tortillas are pliable and rolling the taquitos tightly to prevent them from unraveling.
Phase 1: Preparing the Creamy Filling
- Preheat and Prep: Preheat the oven to **$425^\circ\text{F}$ ($220^\circ\text{C}$)**. Line a baking sheet with parchment paper.
- Soften the Cream Cheese: Ensure the **cream cheese is fully softened**. Place it in a large bowl.
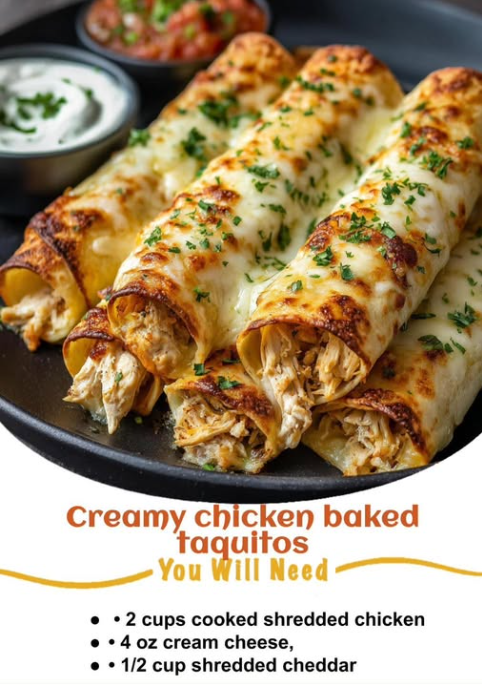
- Mix Filling: Add the **shredded chicken, shredded cheese, garlic powder, onion powder, salt, and pepper** to the bowl. If using, stir in the salsa or drained Rotel.
- Combine Thoroughly: Use a sturdy spoon or a hand mixer on low speed to combine the ingredients until the mixture is **uniform and creamy**.
Phase 2: Rolling the Taquitos (The Pliability Trick)
- **Warm the Tortillas (CRITICAL STEP):** Stack the tortillas and wrap them in a slightly damp paper towel. Microwave for **30–45 seconds**. This warming process is essential, as cold tortillas will crack when rolled.
- **Fill the Tortilla:** Lay one warmed tortilla flat. Place a generous spoonful of the chicken mixture (about 2–3 tablespoons) in a **tight line** across the center, closer to one edge. Do not overfill.
- **Roll Tightly:** Starting from the side with the filling, **roll the tortilla as tightly as possible** to create a snug cylinder. Place the taquito **seam-side down** on the prepared baking sheet.
- **Repeat:** Continue with the remaining tortillas and filling.
Phase 3: Baking for Crispness
- **Coat for Crisp:** Lightly brush the tops of all the taquitos with **melted butter/oil** or spray thoroughly with **cooking spray**. This fat coating is the secret to achieving a deep golden color and a crispy exterior in the oven.
- **Bake:** Bake at $425^\circ\text{F}$ for **15–20 minutes**. Check at the 15-minute mark; the taquitos should be golden brown and feel firm.
- **Serve:** Serve immediately with your favorite dipping sauces, such as salsa, guacamole, and sour cream.
Tips: Preventing Cracking and Ensuring a Crisp Shell
Taquito Master Secrets:
- **Shredding the Chicken:** Shred the chicken finely. Large chunks of chicken make it harder to roll the taquitos tightly, increasing the risk of them unraveling or tearing the tortilla.
- **Preventing Unraveling:** If your taquitos insist on unraveling, you can secure the seam with a **wooden toothpick** before baking. Just remember to remove it before serving!
- **Crispness Tip:** If you want an extra crispy bottom, place a wire rack on the baking sheet and bake the taquitos on the rack. This allows air to circulate completely around the shell.
- **Cream Cheese Temperature:** The cream cheese *must* be fully softened to room temperature. Cold cream cheese will mix unevenly and create lumps, resulting in a less smooth filling.
Variations and Make-Ahead Strategies
Flavor Twists:
- **Spicy Kick:** Add **1/2 teaspoon of chili powder** and a few dashes of **hot sauce** to the filling mixture for an extra layer of heat.
- **Refried Bean Layer:** For a heartier taquito, spread a very thin layer of warm refried beans over the tortilla before adding the chicken filling.
- **Vegetable Boost:** Fold in 1/4 cup of **finely chopped green onion** or **finely diced bell pepper** to the filling.
Make-Ahead & Freezing:
- **Assemble Ahead:** Taquitos can be assembled up through the rolling stage (Step 7). Place them on the baking sheet, cover tightly with plastic wrap, and refrigerate for up to 24 hours. Brush with oil just before baking.
- **Freezing:** Taquitos freeze beautifully. Place the assembled (unbaked) taquitos on a baking sheet and freeze until solid. Transfer them to a freezer-safe bag. When ready to bake, brush with oil and bake from frozen at $400^\circ\text{F}$ ($200^\circ\text{C}$) for 25–30 minutes.
Conclusion: The Ultimate Easy Appetizer
These Baked Cream Cheese Chicken Taquitos are the ideal snack or light meal, offering maximum flavor with minimal fuss. By following the simple steps of warming the tortillas for pliability and ensuring a light coat of fat before baking, you guarantee a crispy, golden exterior and a deliciously creamy interior every time.
ADVERTISEMENT