Execution
Step 1: The Beef Browning
- In a large skillet over medium-high heat, brown the **ground beef**.
- Halfway through cooking, stir in the **garlic powder, onion powder, salt, and pepper**.
- Crucial Step: Once fully cooked, drain the grease thoroughly. You can even pat the beef with a paper towel. Too much moisture will ruin the crispiness of the wrap.
Step 2: The Assembly Architecture
- Lay a **tortilla** flat. In the center, place a layer of **shredded cheddar**.
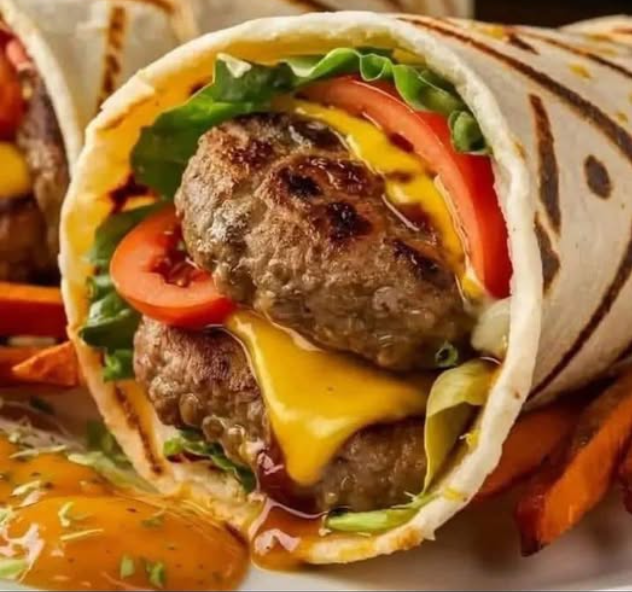
- Top the cheese with a portion of the **hot beef**. This helps melt the cheese from the inside out.
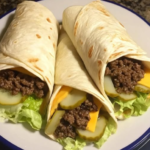
- Add the **lettuce, tomato, and red onion**.
- Fold the sides of the tortilla inward, then roll it tightly from the bottom up, tucking the edges as you go.
Step 3: The Precision Grill
- Heat a clean skillet or griddle over medium heat. Lightly brush with a tiny amount of oil or butter.
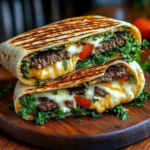
- Place the wrap seam-side down on the hot surface. This “welds” the wrap shut.
- Grill for 2 minutes per side until the tortilla is golden brown and crispy.
Variations: Customize Your Burger
| Style | Add-Ins | Vibe |
|---|---|---|
| **Bacon Blue** | Crispy bacon bits & blue cheese crumbles. | Gourmet & Bold. |
| **Southwest** | Pickled jalapeños & avocado slices. | Spicy & Creamy. |
| **Mushroom Swiss** | Sautéed mushrooms & Swiss cheese. | Earthy & Savory. |
| **The Deluxe** | Pickle spears & a drizzle of BBQ sauce. | Tangy & Sweet. |
Expert Tips for Success
Tip 1: The Tortilla Warm-Up
If your tortillas feel stiff or break when folding, microwave them for 10 seconds between damp paper towels. This makes the gluten more flexible and easier to roll without tearing.
Tip 2: Temperature Management
If you prefer your lettuce and tomato to stay cold and crisp, grill the beef and cheese inside the wrap *first*, then carefully open the end and slide the cold veggies in. Alternatively, eat immediately—the contrast between the hot beef and cold lettuce is part of the charm!
Tip 3: Dipping is Key
Since these are wraps, they are perfect for dipping. Serve with a side of ranch, spicy mustard, or extra burger sauce to elevate the experience.
Storage and Reheating
- **Storage:** It is best to store the cooked beef separately and assemble/grill the wraps fresh. However, assembled wraps can be kept in the fridge for 24 hours.
- **Reheating:** Avoid the microwave (it makes them soggy). Reheat in an **Air Fryer** at 350°F for 3-5 minutes or in a dry skillet to bring back the crunch.
Conclusion
The Grilled Cheeseburger Wrap is a testament to the idea that simple ingredients, when prepared with the right technique, can create something extraordinary. It’s a kid-friendly, party-ready, and weeknight-approved meal that hits all the right notes of flavor and texture. Once you master the “seam-side sear,” you’ll never look at a standard burger bun the same way again.
Happy Grilling!