The secret is “The Pan Temp”—if the pan is too hot, the outside burns before the middle is soooo good and cooked!
- The Mix: Whisk the flour, baking powder, and salt. Add the oil and slowly pour in your liquid. Stir until a soft dough forms.
- The Knead: Give it a very quick 30-second knead on a floured surface just to make it chef’s kiss smooth.
- The Shape: Divide into small balls and roll them out thin (about 1/4 inch) for a classy look.
- The Heat: Lightly grease a skillet and set it to medium heat.
- The Cook: Place the dough in the pan. When you see bubbles forming on top, it’s “regulating” perfectly! Flip and cook for 2 minutes per side.
- The Finish: Stack them under a clean towel to keep them soooo good and soft until serving.
Serving and Storage: The Freshness Rule
How to Serve
Serve warm! These are soooo good when used as wraps, dipped in stew, or slathered with garlic butter. For a classy look, sprinkle with fresh herbs right out of the pan.
Storage Tips
This is a weeknight rescue meant for immediate eating. However, you can store them in a zip-top bag for 2 days. Reheating Tip: Spritz with a tiny bit of water and toss back in a pan for 30 seconds to restore that chef’s kiss flexibility.
Tips: The Dough Regulation
Don’t add all the liquid at once! Depending on the humidity in your kitchen, you may need slightly less or more. You want a dough that is soooo good and tacky but not sticking to your fingers. This “regulation” ensures a classy look finish.
Variations: Flipping the Flavors
- The Garlic Naan Style: Add 1/2 tsp garlic powder to the dough and brush with garlic butter for a soooo good savory kick.
- The Cheesy Pocket: Roll the dough around a pinch of shredded cheese before flattening for a chef’s kiss gooey center.
- The Sweet Treat: Add a pinch of sugar and cinnamon, then serve with honey for a classy look breakfast bread.
Tips: The Steam Regulation
If your bread is coming out too dry, cover the skillet with a lid for the first minute of cooking. This traps the steam and “regulates” the moisture, making the bread soooo good and pillowy instead of cracker-like.
Conclusion: Your New Kitchen Superpower
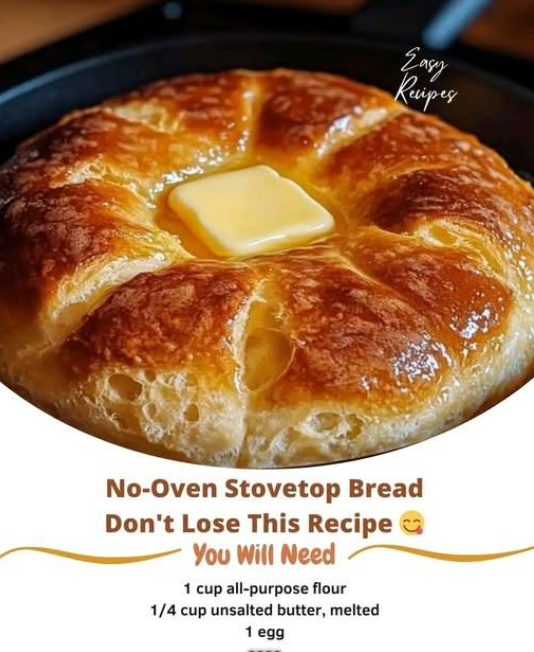
No-Oven Stovetop Bread is proof that you are never more than 15 minutes away from a soooo good meal. It’s a weeknight rescue that delivers a classy look and a chef’s kiss taste with only three main ingredients. Once you master the skillet flip, you’ll never feel “bread-less” again. Enjoy the warmth!
Frequently Asked Questions
Can I use Self-Rising Flour?
Yes! If you use self-rising flour, you can skip the baking powder and salt “regulations” entirely. It makes it an even faster weeknight rescue.
Why is my bread tough?
You might have over-kneaded it. For a soooo good texture, handle the dough as little as possible once the flour is hydrated.
Can I use whole wheat flour?
You can, but the bread will be denser. Mix it 50/50 with white flour for a classy look and better chef’s kiss rise.