Step 1: Thermal Pre-Setting (The Base)
Bake the red velvet layer at 350°F. The “Substrate” Principle: It is vital to cool the cake completely. This prevents Thermal Migration (heat from the cake rising) which would overcook the bottom of the cheesecake layer prematurely.
Step 2: Emulsion Synthesis (The Filling)
Beat cream cheese and sugar, adding liquids and eggs last. The “Low-Shear” Rule: Once eggs are added, minimize mixing to avoid Aeration. Excess air bubbles will expand in the oven and collapse upon cooling, leading to Surface Fractures (cracks).
Step 3: Dual-Phase Thermal Processing
Bake at a lower 325°F. The “Thermal Gradient” Management: Cheesecake requires gentle heat to reach its Gelation Point without boiling the internal moisture. A “slightly jiggly” center indicates that the residual heat will finish the setting process without over-denaturing the proteins.
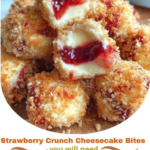
Step 4: Surface Modification (Crunch & Drizzle)
Apply the crumb layer and strawberry glaze after chilling. The “Interfacial Moisture” Rule: The crunch is applied last to prevent the Capillary Action of the cheesecake moisture from softening the cookies.
Serving and Storage: Maintaining Structural Integrity
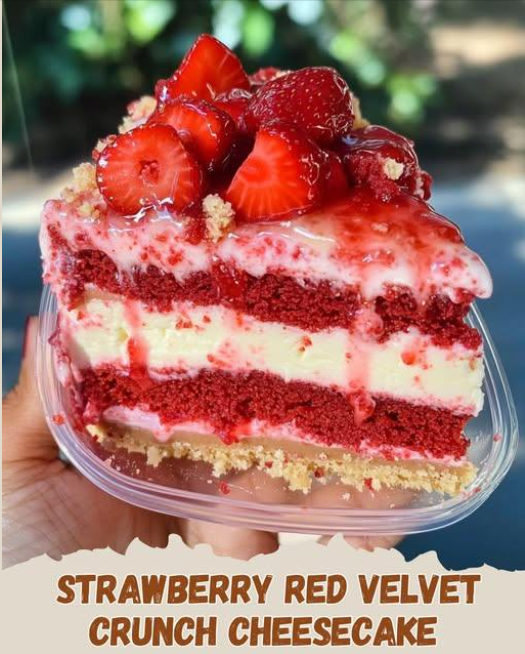
Serving: Use a warm, wet knife for slicing. This reduces Surface Friction and ensures a clean cross-sectional view of the red and white layers.
Storage: Store at <40°F (4°C). The “Lipid Solidification” Benefit: Cold temperatures keep the cream cheese matrix firm and prevent the strawberry glaze from undergoing Syneresis (weeping).
Tips: Pro-Level Cheesecake Nuances
- The Water Bath Option: For absolute Thermal Stability, wrap the pan in foil and place it in a water bath (Bain-Marie). This limits the pan temperature to 212°F (100°C).
- Room Temp Reagents: Ensure the cream cheese and eggs are at Ambient Equilibrium (room temp). This allows for a perfectly Homogeneous Emulsion without lumps.
- The “Jiggle” Test: The cheesecake is done when the outer 2 inches are firm but the center moves like gelatin. This prevents the “rubbery” texture of over-coagulated proteins.
Variations: Iterative Design Adjustments
| Variation | The Adjustment | The Result |
|---|---|---|
| Dark Chocolate Contrast | Swap Golden Oreos for Chocolate Oreos. | Enhanced Bittersweet Balance. |
| White Chocolate Fill | Mix 4 oz melted white chocolate into filling. | Increased Fat Stability and richness. |
| Boozy Berry | Add 1 tbsp Champagne or Vodka to strawberry jam. | Lowered Freezing Point and aromatic complexity. |
Conclusion: A Triumph of Confectionary Engineering
This Strawberry Red Velvet Crunch Cheesecake is more than a dessert; it is a successful management of Phase Transitions and Structural Scaffolding. By respecting the cooling times and the delicate nature of the egg-cream emulsion, you produce a professional-grade composite. On this December 27, 2025, enjoy the perfectly executed results of dessert physics. Happy baking!
Frequently Asked Questions
- Why did my cheesecake crack?
- This is Thermal Stress. It usually happens from over-mixing (air bubbles) or cooling too rapidly. Leave the oven door ajar for 30 minutes after baking to slow the temperature drop.
- Can I use a different cake base?
- Yes, but ensure the Density is similar. A very light sponge might collapse under the 3-pound load of cheesecake filling.
- Why is my crunch topping soggy?
- This is Moisture Migration. Ensure the cheesecake is fully cold and the butter in the topping has “set” before adding the wet strawberry layer.
Would you like me to suggest a “Whipped White Chocolate Ganache” to pipe around the edges, or perhaps show you how to turn this into “Cheesecake Bars”?