Step 1: The Proper Sear
- **Brown:** In a large skillet over medium-high heat, brown the **ground beef**. Use a spatula to break the meat into very small, fine crumbles. Wendy’s chili is known for small grains of beef rather than large chunks.
- **Drain:** Once fully browned, move the beef to a colander. Drain off all excess fat. Some home cooks even rinse the beef with warm water to ensure a “grease-free” chili broth.
Step 2: Combining the Pot
- **Transfer:** Place the drained beef into a large **6-quart pot** or Dutch oven.
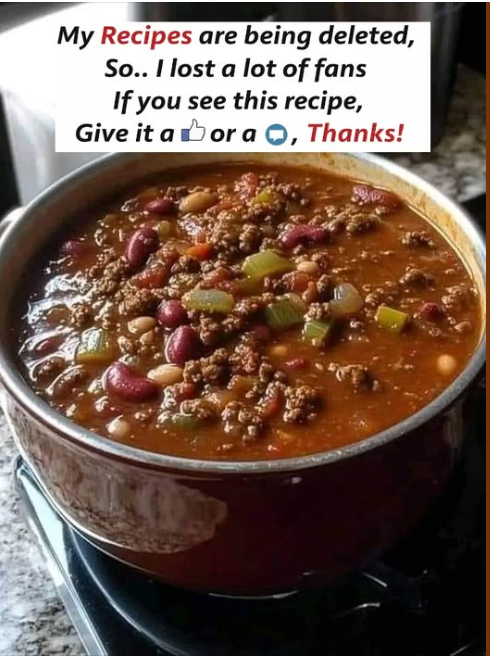
- **Add Liquids:** Pour in the **tomato juice** and **tomato purée**. Stir to combine.
- **Add Solids:** Stir in the **onions, celery, green peppers, kidney beans, and pinto beans**.
- **Season:** Add all the spices, from the **chili powder** to the **cayenne pepper**. Stir thoroughly to ensure no spice clumps remain.
Step 3: The Simmer (Two Ways)
| Method | Time | Technique |
|---|---|---|
| **Stovetop** | 1 to 1.5 Hours | Bring to a boil, then reduce to a low simmer. Cover and stir every 15 minutes. |
| **Slow Cooker** | 3 to 4 Hours | Cook on the “Low” setting. This is great for letting the flavors develop while you’re away. |
Expert Tips for the Perfect Batch
Tip 1: The Beef Texture
In the actual Wendy’s kitchens, the chili meat is made from hamburger patties that didn’t sell fast enough, which are then boiled and finely chopped. To mimic this at home, you can “pulse” your cooked and drained ground beef in a food processor for 2 seconds to get that iconic, uniform crumble.
Tip 2: The “Overnight” Rule
Like almost all soups and stews, this chili tastes significantly better on the second day. If you have the time, make it a day in advance, let it cool, and refrigerate it. The starches from the beans will thicken the broth slightly, and the spices will become more cohesive.
Tip 3: Adjusting the Heat
Wendy’s chili is notoriously mild so that it appeals to everyone. If you want more kick, double the **cayenne pepper** or add a teaspoon of your favorite hot sauce (like Tabasco) during the final 10 minutes of simmering.
Serving and Storage: The Complete Experience
The Classic Toppings
To keep it authentic to the restaurant experience, serve with:
- **Shredded Cheddar Cheese:** Added while the chili is piping hot so it melts.
- **Saltine Crackers:** Crumbled over the top for crunch.
- **Hot Chili Seasoning:** You can make your own by mixing a little oil with extra chili powder and cayenne.
Storage Guidelines
- **Fridge:** Store in airtight containers for up to **4 days**.
- **Freezer:** This is an excellent freezer meal. It will stay fresh for **3 months**. Thaw in the fridge overnight before reheating on the stove.
Conclusion: A Hearty Tradition
Recreating Wendy’s Chili at home is a rewarding way to bring a beloved flavor into your kitchen without the fast-food price tag. By focusing on the fine crumble of the beef and the aromatic blend of celery and cumin, you create a dish that is both nostalgic and deeply satisfying. It’s a versatile, low-effort meal that defines the cozy feeling of a fall evening.
Frequently Asked Questions
Q: Why is there celery in this chili?
A: Celery provides a “base note” of flavor. When simmered for 90 minutes, it doesn’t taste like celery; it simply adds a depth of savory saltiness that makes the broth taste more complex.
Q: Can I use fresh tomatoes instead of purée?
A: You can, but you will lose that specific Wendy’s consistency. The purée and juice provide a smooth, consistent base that fresh tomatoes (which are higher in water and skins) can’t quite match.
Q: Is this chili gluten-free?
A: Most of the ingredients are naturally gluten-free, but always check your **chili powder** and **tomato juice** labels, as some brands use wheat-based anti-caking agents or thickeners.