

1. Prepare Your Pan and Oven
Preheat your oven to 350°F (175°C). This is a “heavy” cake, so you want to ensure your 9×13 inch pan is well-greased. Use butter or a high-quality non-stick baking spray.
2. Build the Foundation
Before any batter goes in, sprinkle your white chocolate chips (and nuts/coconut if using) across the bottom of the pan. This creates a hidden layer of texture that surprises people when they take their first bite.
3. Mix the Strawberry Batter
In a large mixing bowl, combine the cake mix, water, oil, and eggs. Whisk until smooth. Gently fold in the chopped strawberries. Pour this vibrant pink batter directly over the chocolate chips in your pan. Do not stir them together!
4. The Cream Cheese Swirl
In a medium bowl, beat the softened cream cheese and melted butter. Slowly add the powdered sugar until you have a thick, frosting-like consistency. Drop large “dollops” of this mixture onto the raw cake batter. Use a knife to swirl it just slightly—over-swirling will make the cake lose its “earthquake” effect.
5. The Bake
Bake for 40 to 45 minutes. The cake will rise and bubble around the cream cheese. The center should be slightly jiggly but the edges should be golden brown and firm.
Expert Tips for the Best Results
- Room Temperature Ingredients: Ensure your cream cheese is truly soft. If it’s cold, you’ll end up with lumps instead of smooth “fault lines.”
- The Strawberry Secret: If using frozen berries, don’t thaw them! Toss them in a tablespoon of dry cake mix before adding to the batter to keep them from sinking to the bottom.
- Storage: Because of the high dairy content, this cake must be refrigerated. It actually tastes incredible when served cold the next day!
Enjoy your homemade Strawberry Earthquake Cake! It’s the perfect crowd-pleaser for potlucks, birthdays, or a cozy weekend treat.
Related posts:
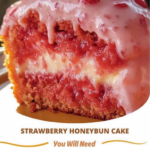 Mastering the Strawberry Honeybun Cake with Strawberry Cream Icing
 Sunshine and Swirls: Mastering the Orange Creamsicle Cake
 The Biomechanics of the Roulade
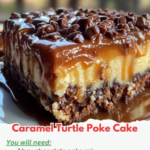 Decadence Defined: Mastering the Ultimate Caramel Turtle Poke Cake
 White German Chocolate Cake with a Cheesecake Center
 Strawberry Pineapple Pound Cake: A Study in Tropical Moisture
