Step 1: The Lipid-Cream Emulsion
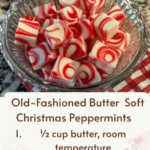
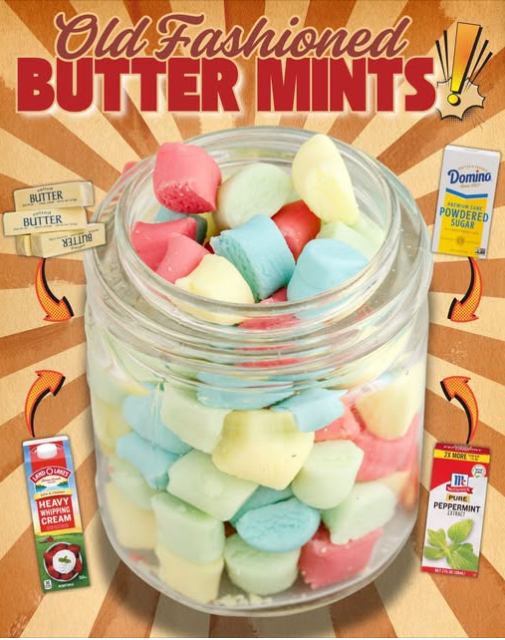
In a large bowl, cream the **softened butter** and **whipping cream** together. The Texture Rule: Do not over-aerate. Unlike a cake, we don’t want significant air bubbles here; we want a dense, smooth paste. Stir in the **peppermint extract** and your **food coloring**.
Step 2: Sucrose Integration
Gradually incorporate the **powdered sugar** one cup at a time. Switch from a whisk to a sturdy spatula or a dough hook. The Clump Prevention: If you add the sugar too fast, the butter will coat the lumps, making them impossible to break. Slow integration is key.
Step 3: Kneading the “Candy Clay”
Once the mixture becomes too thick for a spoon, move it to a surface dusted with powdered sugar. Knead by hand until it is smooth and no longer sticky. The Consistency Target: It should feel like professional modeling clay—pliable but capable of holding a sharp edge when cut.
Step 4: The Extrusion (Shaping)
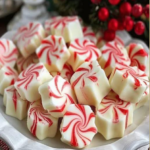
Divide the dough into four pieces. Roll each piece into a long “rope” about 1.5cm thick. Using a sharp knife or bench scraper, cut the ropes into 1.5cm pillows. Uniformity: Cutting them into equal sizes ensures that the drying time is consistent across the entire batch.
Step 5: Atmospheric Dehydration
Spread the mints in a single layer on a parchment-lined baking sheet. The 24-Hour Rule: Leave them on the counter for 12 to 24 hours. This allows the surface moisture to evaporate, creating a “matte” finish and a stable exterior that won’t stick together in a jar.
Expert Tips: The Professional Edge
The Maintenance Phase (Health Tip): As you continue to succeed in your wellness journey, these are the ultimate “End-of-Meal” tools. Research suggests that a strong mint flavor can signal to the brain that the meal is officially “over,” helping to prevent mindless second helpings. One or two of these rich, buttery mints can be the perfect high-satisfaction finale to a great dinner!
Variations: Culinary Twists
- The “Wintergreen” Alternative: Use Wintergreen extract and a single drop of pink coloring for a nostalgic candy-shop flavor.
- The “Gold Leaf” Mint: For weddings, keep the mints white and press a small piece of edible gold leaf onto each pillow before drying.
- The Chocolate-Dipped: Once dried, dip half of each mint into melted dark chocolate for a “Tuxedo” effect.
Conclusion: A Legacy of Sweetness
Butter Mints are a bridge between the world of fudge and the world of hard candy. By respecting the emulsion of the cream and the butter, and allowing for a full day of dehydration, you’ve created a candy that is light years ahead of store-bought versions. Enjoy your rich, velvety, and perfectly cooling masterpieces!
Frequently Asked Questions
| Question | Answer |
|---|---|
| My mints are too soft to cut! | Your butter was likely too warm. Place the dough in the fridge for 15 minutes to firm up the lipids before rolling. |
| Can I use milk instead of cream? | You can, but the fat content in the whipping cream is what gives these their iconic “melt-away” luxury. Milk makes them slightly harder. |
| How long do they last? | In an airtight container, they stay perfect for 2 weeks at room temp, or 1 month in the fridge. |
This is such a classic and elegant recipe! Would you like me to help you design a “Party Favor” tag for these, or perhaps help you calculate the specific calories per mint?