
Step 1: Preparing the Envelope
- Trim the crusts from the **bread slices**. The Rolling Technique: Use a rolling pin to flatten each slice until it is about half its original thickness.
Step 2: The Filling Emulsion
- In a medium bowl, whisk together the **cottage cheese, egg, cheddar, salt, and pepper**.
- Ensure the egg is fully incorporated into the cheese to prevent “scrambled egg” streaks inside the toast.
Step 3: Assembly & The Seal
- Spoon half the filling onto the center of one flattened bread slice.
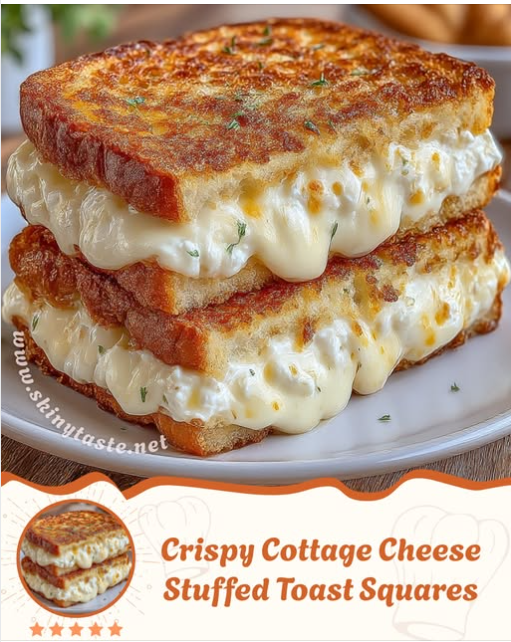
- Place a second slice on top. The Seal: Use the tines of a fork to press the edges firmly together, creating a “ravioli” effect.
Step 4: The Golden Sear
- Melt the **butter** in a skillet over medium heat.
- Place the toast squares in the pan. Cook for 3–4 minutes per side.
- The Visual Cue: The bread should be deep golden brown and sound “hollow” when tapped with a spatula.
Expert Tips for Success
Tip 1: Avoid the “Soggy Bottom”
If your cottage cheese has a lot of liquid (whey) at the top of the container, strain it through a fine-mesh sieve for 5 minutes before mixing. This results in a much creamier, thicker center that won’t make the bread wet.
Tip 2: The Flavor Upgrade
Add **1 teaspoon of Everything Bagel Seasoning** or a pinch of **Garlic Powder** to the filling for a more complex, savory profile that pairs perfectly with the cheddar.
Tip 3: The Maintenance Phase (Health Tip)
Given your incredible 59lb loss, this recipe is a goldmine. Cottage cheese is a “slow-digesting” protein (casein), meaning this snack will keep you full for hours. To lower the fat even further, you can use a high-quality non-stick spray instead of butter for the pan searing.
Conclusion: A Modern Winter Comfort
These Crispy Cottage Cheese Stuffed Toast Squares are a testament to creative kitchen experimentation. By combining the techniques of a grilled cheese with the protein density of cottage cheese, you’ve created a snack that is both nutritionally functional and deeply satisfying.
Enjoy your crispy, creamy masterpiece!
Related posts:
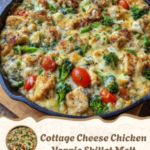 The Weeknight Hero: Mastering the Cottage Cheese Chicken Veggie Skillet Melt
 Mastering Cottage Cheese Salad
 Creamy Comfort
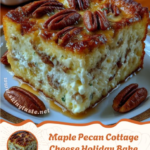 The Ultimate Guide to Maple Pecan Cottage Cheese Holiday Bake
 The Ultimate Guide to Crispy Parmesan Cottage Cheese Chicken Wraps
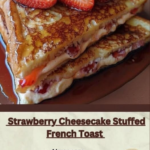 Mastering Strawberry Cheesecake Stuffed French Toast
