Step 1: The Aeration Phase
- Preheat your oven to **350°F (175°C)** and grease an 8×8 or 9×9 inch baking pan.
- In a stand mixer, beat the **softened butter and granulated sugar** on medium-high speed for at least 4 minutes.
- The Goal: The mixture should look like pale, fluffy clouds. This process incorporates the air needed to give the bars a light texture without baking powder.
Step 2: Dry Integration
- Reduce the mixer speed to low. Slowly add the **all-purpose flour**.
- Mix only until the white streaks disappear. The Golden Rule: Over-mixing at this stage will make the bars tough.
- Gently fold in the **chocolate chips** with a spatula.
Step 3: Pressing and Leveling
- Transfer the dough to your prepared pan. Because the dough is thick, use a piece of parchment paper or a greased offset spatula to press it into an even layer.
- Ensure the corners are filled; this prevents the edges from burning while the center remains raw.
Step 4: The Golden Bake
- Bake for **20–25 minutes**.
- The Visual Cue: The edges should be a light golden brown, and the top should look “set” and no longer shiny.
- Do Not Overbake: These bars continue to firm up as they cool. If they look “hard” in the oven, they will be too tough once cooled.
Troubleshooting the Bake
| Issue | Possible Cause | The Fix |
|---|---|---|
| Bars are too crumbly to cut | Cut while too warm or overbaked. | Allow them to cool completely (at least 1 hour) before slicing. |
| Bars are “greasy” | Butter was melted, not softened. | Ensure butter is room temp, but still firm enough to hold a fingerprint. |
| Top is too pale | Oven temperature was inaccurate. | Check your oven with a thermometer; use the top rack for the last 5 mins for better browning. |
Expert Tips for Holiday Gifting
Tip 1: The Christmas Twist
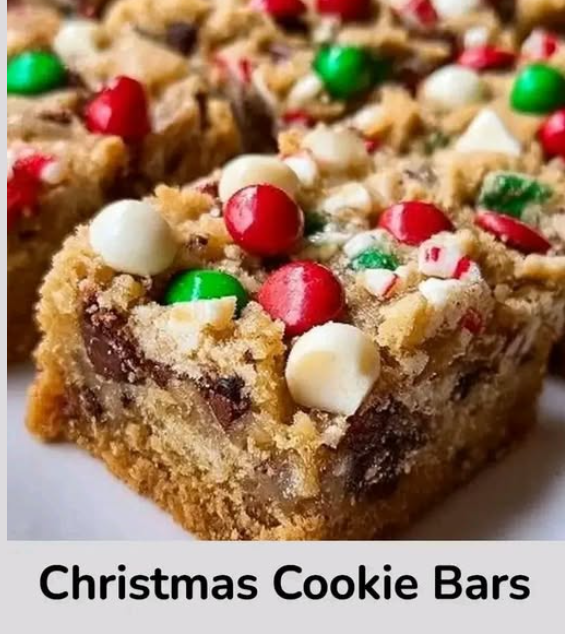
To make these truly “Christmas,” replace 1/4 cup of the chocolate chips with **crushed candy canes** or **red/green M&Ms**. The peppermint oil from the candy canes will infuse the butter base beautifully during the bake.
Tip 2: The Perfect Square
For bakery-style edges, line your pan with a “parchment sling” (two strips of paper crossing each other). Once the bars are cool, lift the entire block out of the pan and slice with a long, hot chef’s knife for clean, sharp edges.
Tip 3: The Vanilla Upgrade
Even though the recipe is simple, adding **1 teaspoon of Pure Vanilla Extract** or **Almond Extract** to the butter/sugar mixture will elevate these from “home-style” to “gourmet” instantly.
Conclusion: Simplicity Perfected
These Christmas Cookie Bars prove that you don’t need a long list of ingredients to create a holiday masterpiece. By mastering the creaming method and respecting the cooling time, you’ve created a buttery, chocolatey treat that is as sturdy as it is delicious. They are perfect for cookie swaps, dessert platters, or a midnight snack by the tree.
Enjoy your festive baking!