Step 1: The Low-Induction Melt
- In a microwave-safe glass bowl, combine the **white chocolate chips** and **coconut oil**.
- Microwave in **20-second bursts** at 50% power. The Golden Rule: Stir vigorously between bursts. White chocolate burns at a lower temperature than dark chocolate; stop heating when 80% is melted and stir until the rest dissolves.
- Stir in the **peppermint extract** once the chocolate is smooth.
Step 2: The Marbling Technique (Optional)
- If using colors, divide the melted chocolate into small bowls.
- Add a tiny drop of gel coloring to each and stir.
- To create a swirl, drop alternating colors into the molds and use a toothpick to gently marble the patterns.
Step 3: Mold Calibration
- Place your **silicone flower or snowflake molds** on a flat baking sheet.
- Carefully pour or spoon the chocolate into the cavities.
- The Degassing Step: Lift the baking sheet about 2 inches off the counter and drop it flat. Repeat 3 times. This forces air bubbles to the surface for a perfectly smooth, professional finish.
Step 4: The Finishing Garnish
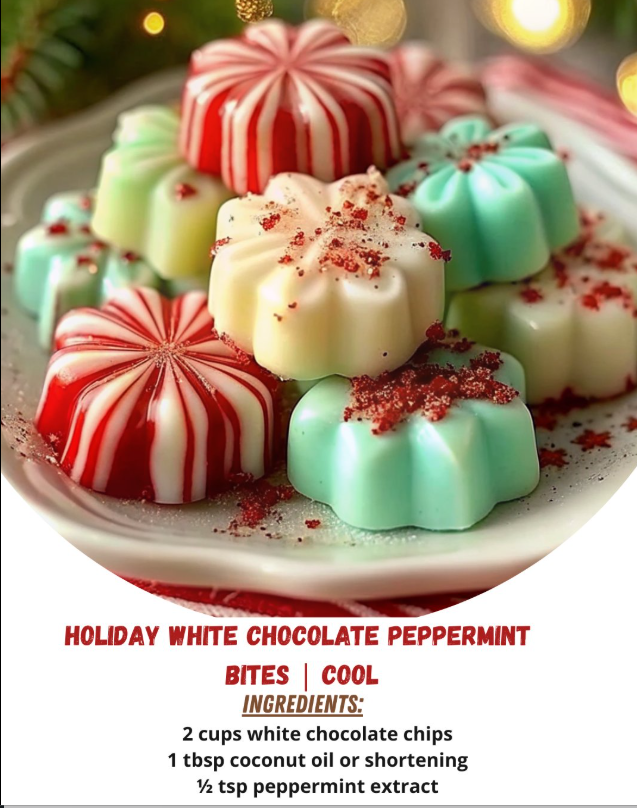
- Sprinkle the **crushed peppermint candies** or red sugar over the wet chocolate.
- Place the tray in the refrigerator for at least **1 hour** to set completely.
- Gently “pop” the bites out of the flexible silicone molds.
Troubleshooting the Bites
| Problem | Possible Cause | The Fix |
|---|---|---|
| Chocolate is thick and “chunky” | It seized (even a drop of water or overheating can cause this). | Stir in an extra teaspoon of coconut oil to thin it back out. |
| Bites are sticky/melting in hand | Too much coconut oil or room is too warm. | Store these in the refrigerator and serve chilled for the best “snap.” |
| Peppermint candies turned to liquid | Moisture/Humidity in the air. | Add the candy garnish *after* the chocolate has slightly cooled, or store with a silica packet. |
Expert Tips for Success
Tip 1: The Gift Box Presentation
Because these are delicate, they look best when placed in small **paper truffle liners**. This prevents them from touching each other and maintains the intricate details of the snowflake or flower molds.
Tip 2: The Health Balance
Considering your incredible **59lb weight loss**, these are a perfect “mini-treat.” One snowflake bite provides a massive punch of flavor and satisfaction for a very small caloric footprint. Enjoying one slowly is a great way to celebrate your success during the holidays!
Tip 3: The Flavor Bridge
Try adding a tiny pinch of **fine sea salt** to the white chocolate. It cuts the sweetness and makes the peppermint taste incredibly crisp.
Conclusion: Tradition in a Bite
These White Chocolate Peppermint Bites are more than just candy; they are a nostalgic journey. By combining the science of meltaway fats with the art of silicone molding, you’ve created a holiday treat that is as beautiful to look at as it is delightful to eat. May they bring as much joy to your kitchen this year as they did when you were growing up.
Happy Holidays and Happy Melting!