This “no-stir” method is all about the layers. Follow these steps for a guaranteed crowd-pleaser:
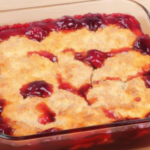
- The Base: Preheat your oven to 175°C (350°F). Spread the two cans of cherry pie filling into the bottom of a 9×13-inch baking dish.
- The Flavor Boost: Drizzle the vanilla extract over the cherries. Use a spoon to gently swirl it in so every bite has that aromatic depth.
- The Blanket: Sprinkle the dry yellow cake mix evenly over the top of the cherries. Do not stir! Use the back of a spoon to level out any large clumps.
- The Hydration: Slowly pour the whole milk over the cake mix. This helps bond the dry flour to the fruit juices below.
- The Golden Seal: Drizzle the melted butter over the entire surface. Aim for total coverage—this is what creates that “classy look” and crispy texture.
- The Bake: Place in the oven for 40–45 minutes. You are looking for the edges to bubble and the top to turn a deep, golden-red.
Serving and Storage: The Warmth Factor
How to Serve
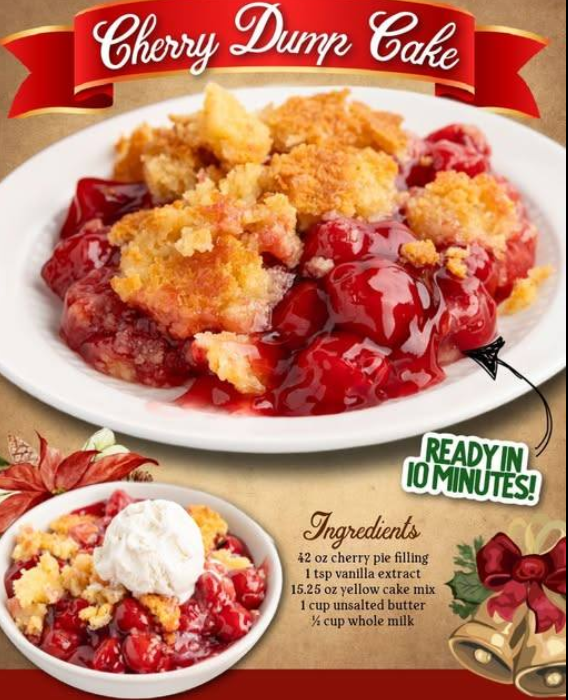
This cake is best served warm, about 10–15 minutes after leaving the oven. For the ultimate experience, serve it in a bowl with a generous scoop of vanilla bean ice cream or a dollop of fresh whipped cream. The cold cream melting into the hot cherry filling is truly legendary.
Storage Tips
If you have leftovers (which is rare!), store them in an airtight container in the refrigerator for up to 4 days. To reheat, simply pop a serving in the microwave for 30 seconds to restore that buttery softness.
Tips: Pro-Level Texture Secrets
- No Dry Spots: If you see patches of dry cake mix after 30 minutes of baking, use a fork to gently press them down into the bubbling butter and juice.
- Pan Choice: A glass or ceramic baking dish is ideal for dump cakes as it ensures even heat distribution and allows you to see the vibrant cherry layers.
Variations: Flipping the Fruit
Once you’ve mastered the cherry classic, try these seasonal twists:
- The Chocolate Cherry: Swap the yellow cake mix for a Chocolate Fudge cake mix for a “Black Forest” inspired dessert.
- The Nutty Crunch: Sprinkle ½ cup of sliced almonds or chopped pecans over the top before baking.
- The Tropical Twist: Use one can of cherry and one can of crushed pineapple for a bright, tangy flavor.
Tips: The Melted Butter Advantage
Many old-school recipes suggest cutting cold butter into squares, but melting it is superior.
“Drizzling melted butter over the cake mix ensures more even coverage than sliced butter. It prevents the common ‘floury’ patches and results in a top layer that is consistently crispy and caramelized.”
Conclusion: A Dessert Win Every Time
The Cherry Dump Cake remains a staple in American kitchens because it delivers a massive reward for almost zero labor. By using high-quality butter and a splash of milk, you take a pantry-staple dessert and turn it into a gourmet comfort experience. It is the perfect recipe to keep in your back pocket for potlucks, holidays, or those evenings when you just need something sweet and warm. Simple, red, and delicious—it’s a masterpiece of convenience!
Frequently Asked Questions
Can I use low-fat milk?
Yes, but whole milk provides a richer flavor and a more tender crumb. If you use skim milk, the top might be slightly less “fudgy.”
Can I make this in a slow cooker?
Absolutely! Layer the ingredients the same way in a greased slow cooker and cook on HIGH for 2 hours or LOW for 4 hours.
Why do I not stir the ingredients?
The magic of a dump cake is the layers. If you stir it, you end up with a thick, purple batter that is heavy and dense. Keeping the layers separate allows the top to stay “cake-like” while the bottom becomes a gooey fruit filling.